
A warm, no-jargon guide for curious hands and practical minds
You pick up a palm-size car and your brain does a double-take: that feels real. That illusion is the heart of a scale model—a faithful version of something larger (or smaller), built so every dimension keeps the same proportion. It’s not just “tiny.” It’s consistent.
The One-Sentence Definition
A scale model is a proportional replica of a real object where each measurement is reduced (or enlarged) by the same ratio—so it looks right from every angle.
Written as 1:n (read: “one to n”).
1:24 car → 1 cm on the model = 24 cm on the real car.
1:12 guitar → 1 inch on the model = 12 inches on the real guitar.
Bigger second number ⇒ smaller model (1:200 is tinier than 1:72).
Why Scale Models Matter (Beyond “they’re cool”)
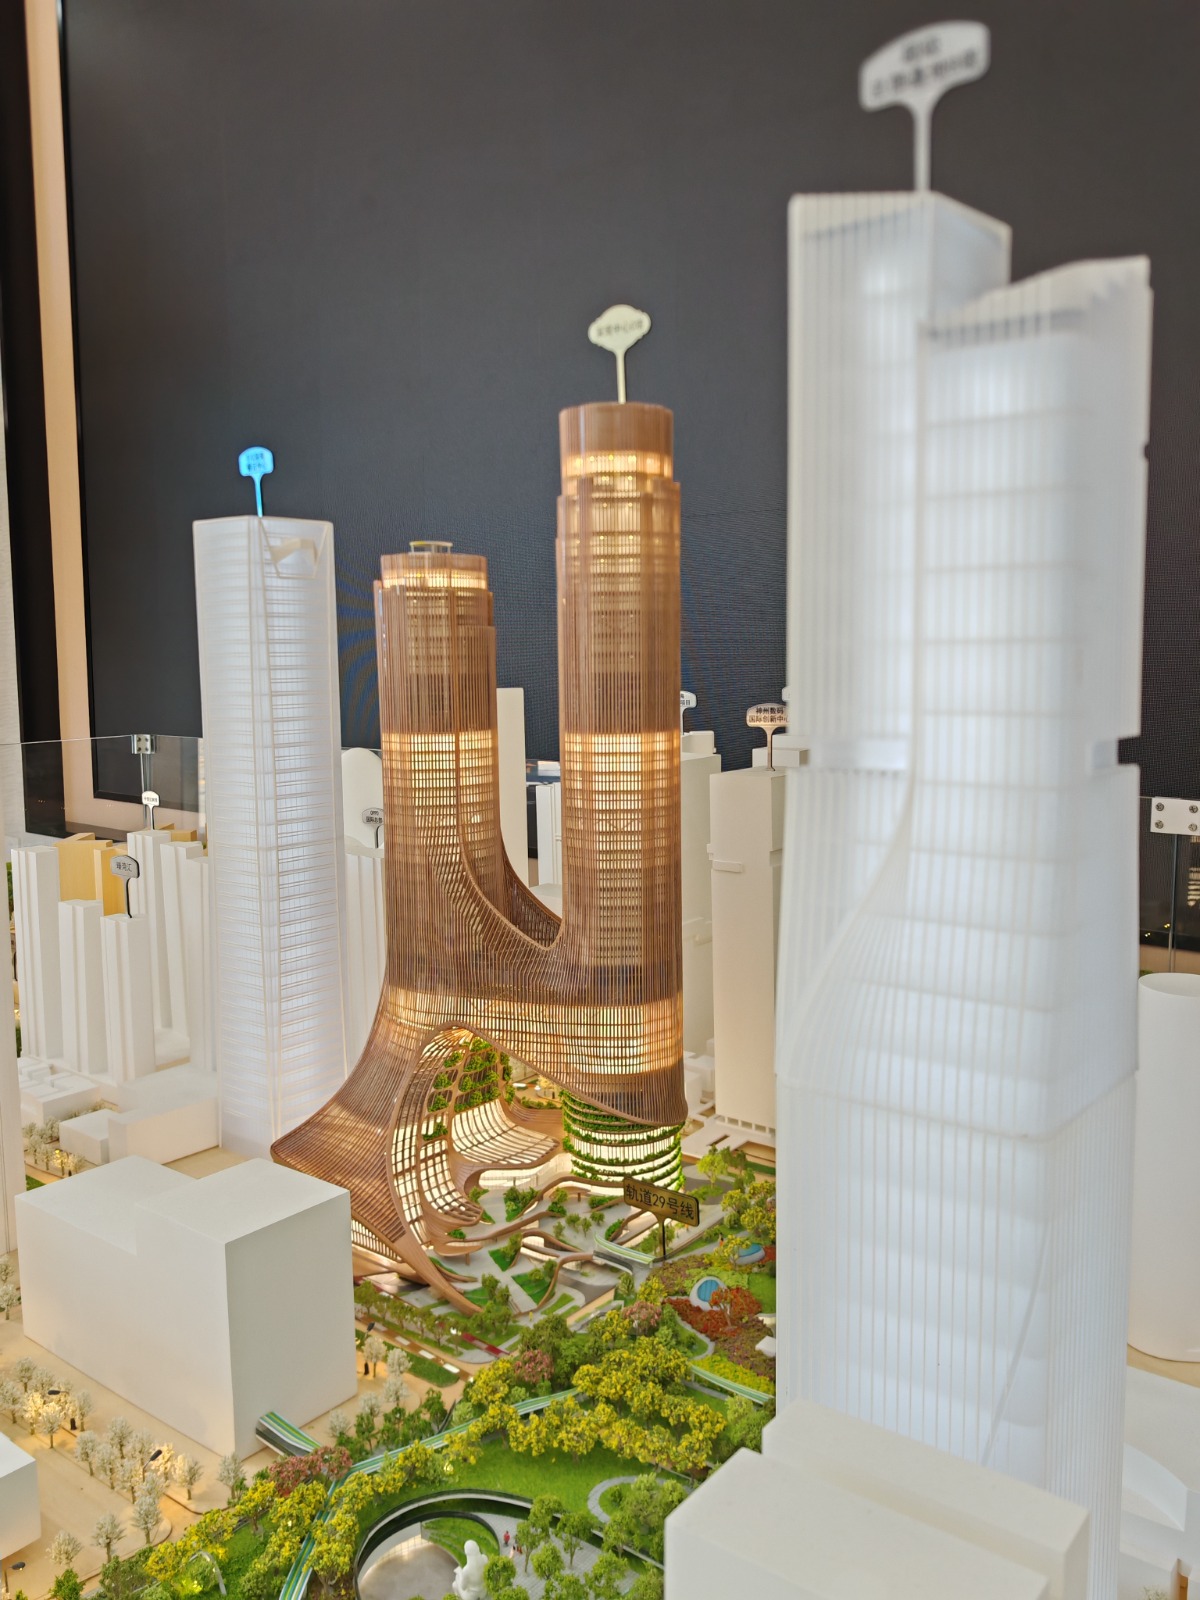
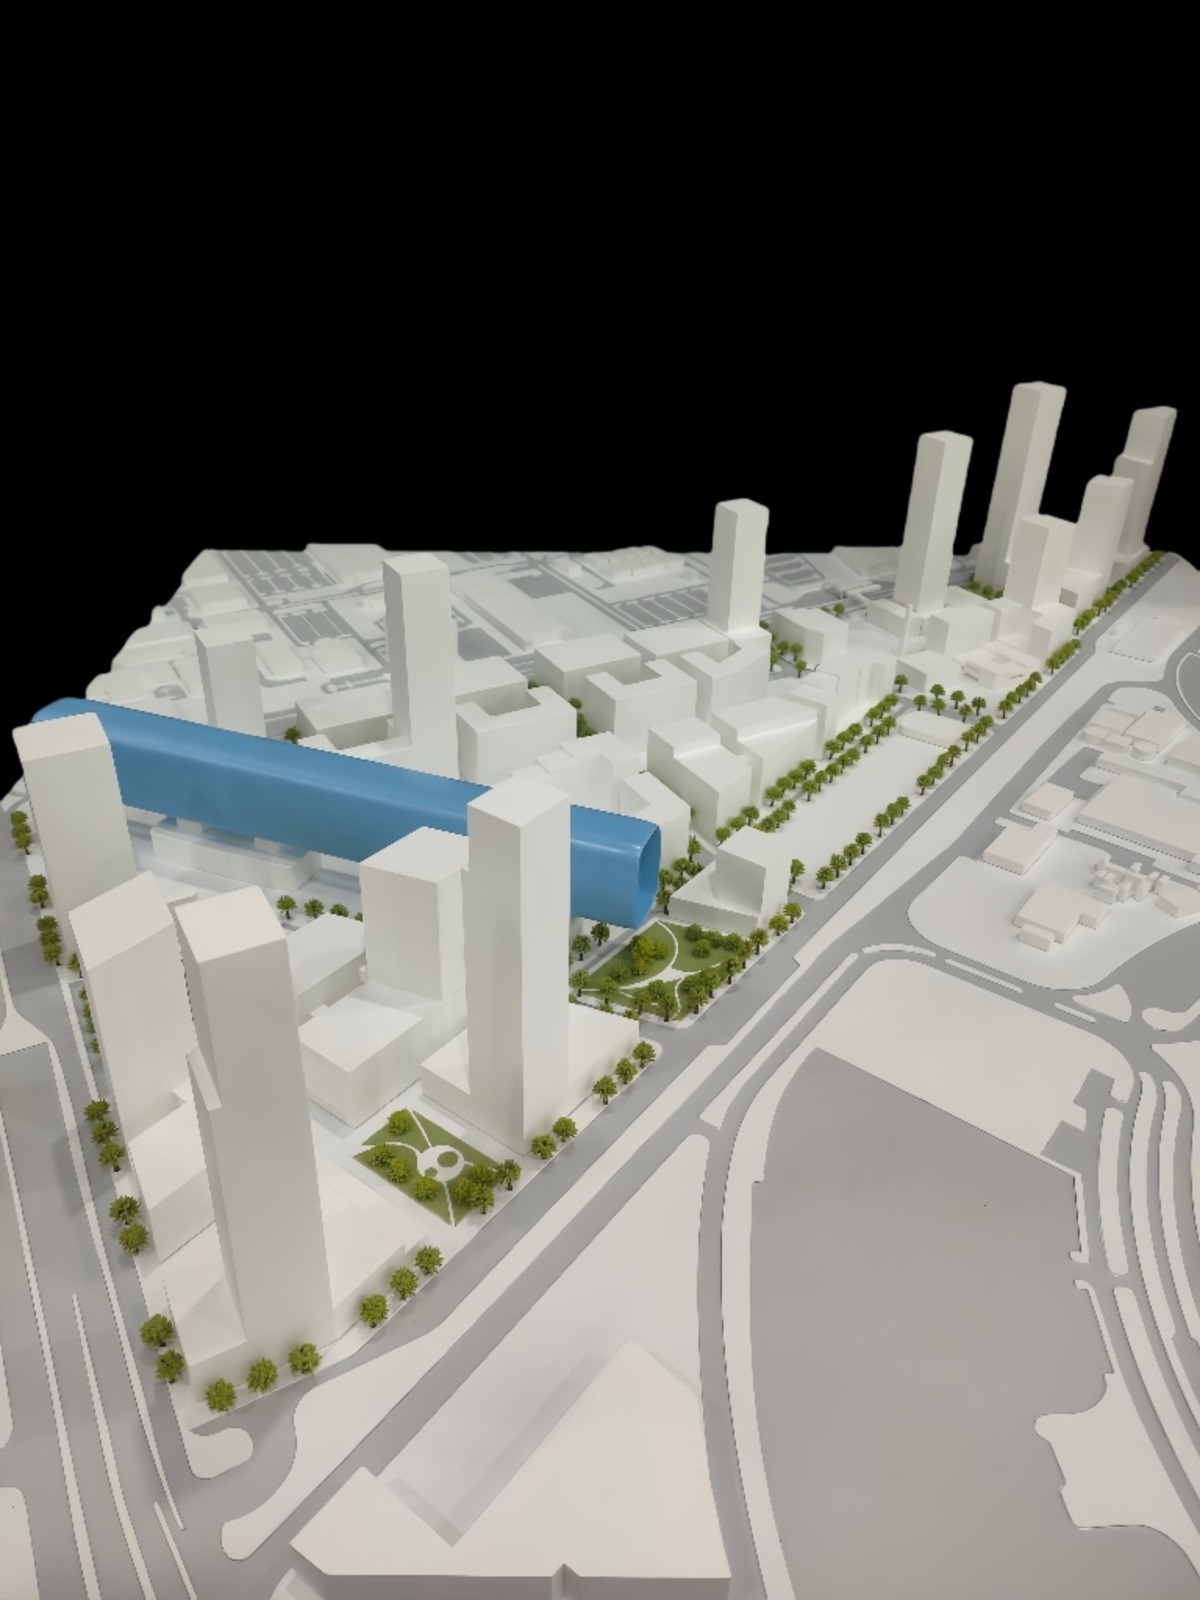
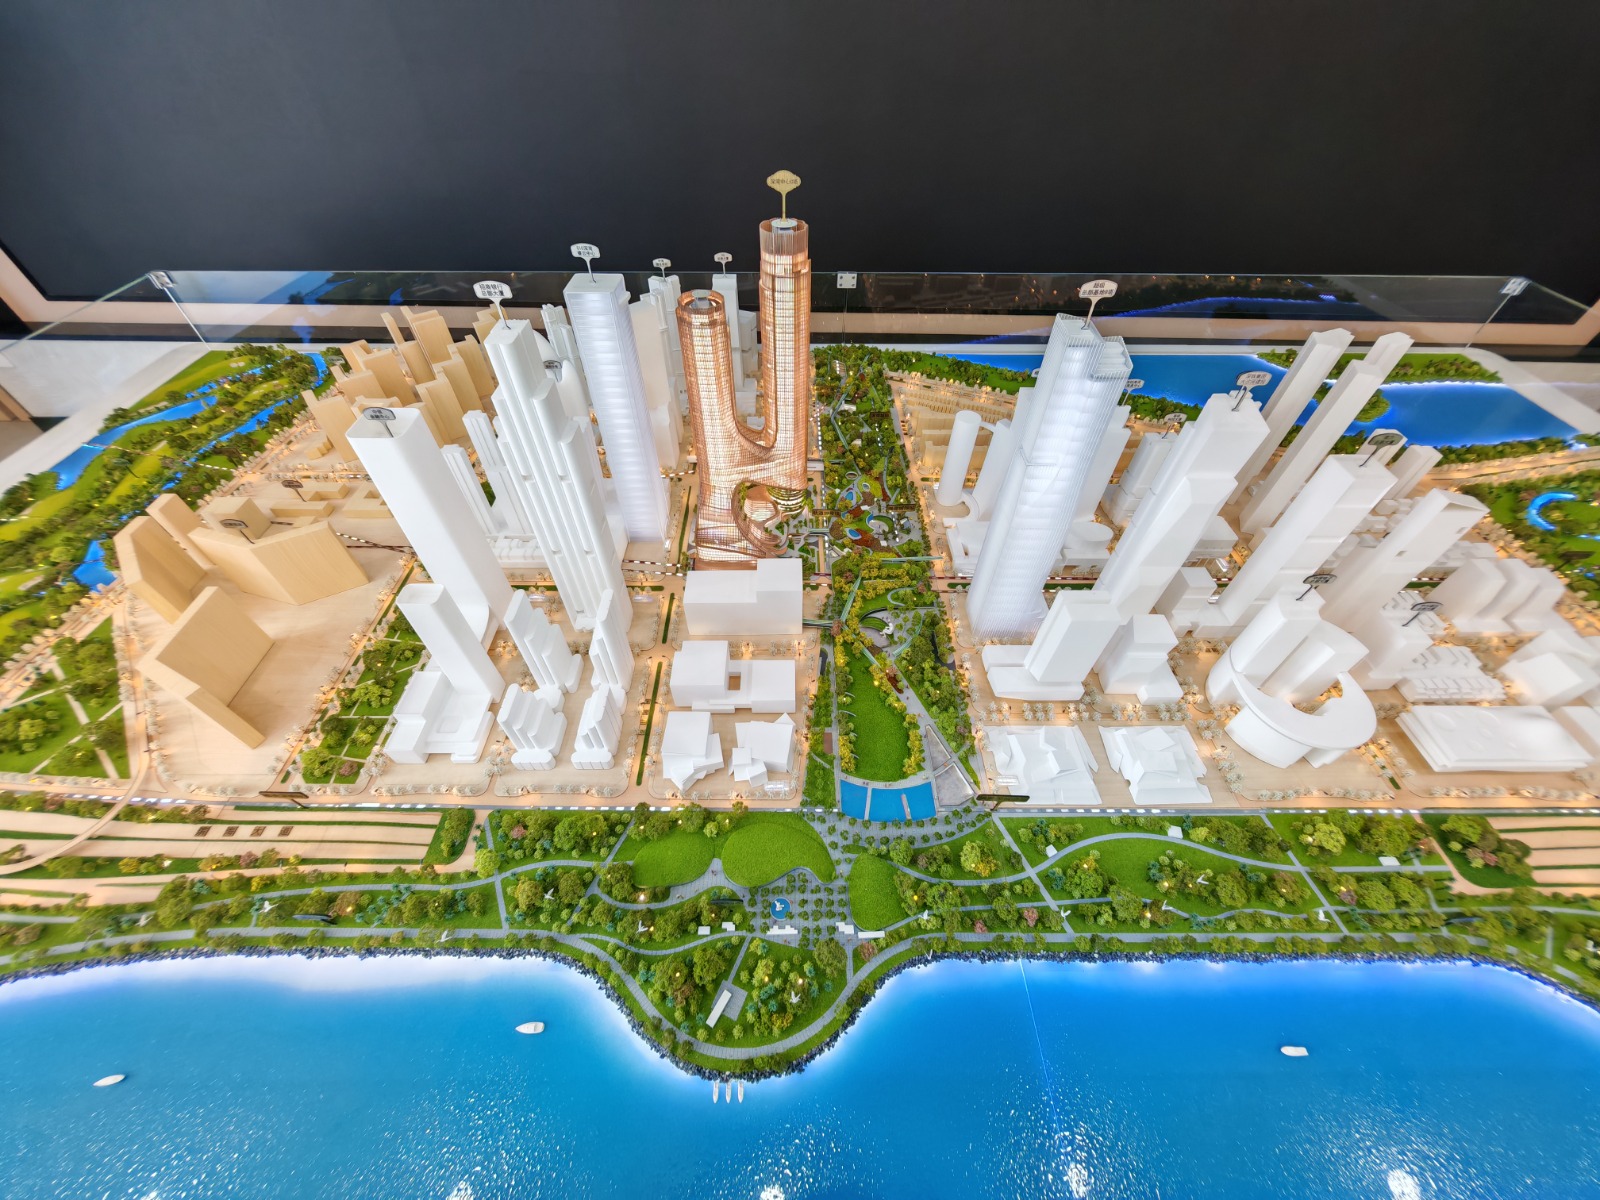
Think before you build: Architects and engineers test ideas in 3D—layout, light, strength—before spending real money.
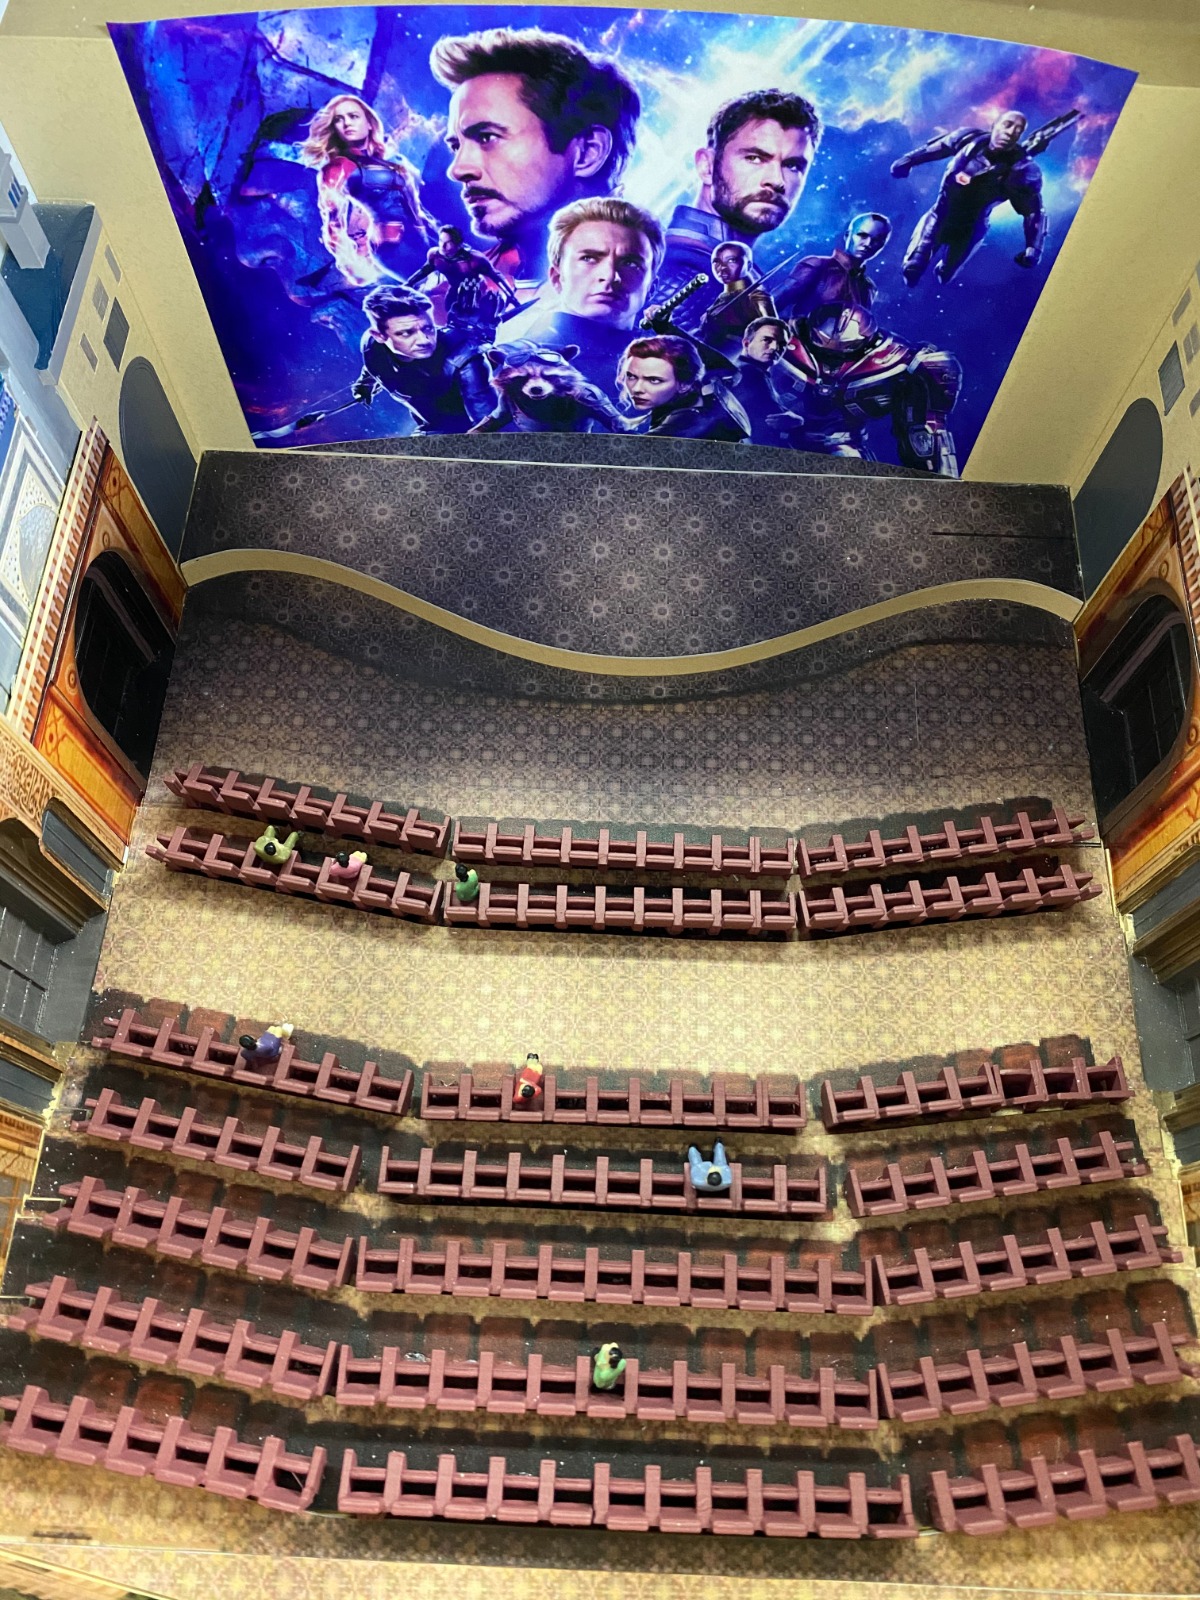
Tell stories, fast: Museums, filmmakers, and teachers turn complex moments into scenes you can see in one glance.
Learn by doing: Hands-on beats hand-waving; anatomy, aerodynamics, geography all click quicker when you can hold them.
Preserve what’s rare: Don’t have a hangar for a Spitfire or a marina for a classic runabout? Build one—accurately.
Find your flow: Cutting, fitting, painting—quiet focus that feels like meditation with glue.
Scale vs. Gauge vs. “Feels Right”
Scale = the math (1:n).
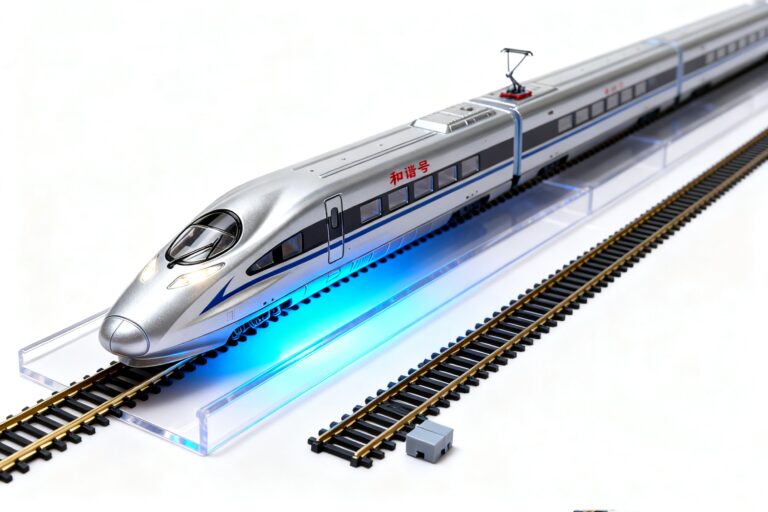
Gauge = distance between rails (trains).
Realism = how convincingly the eye believes it (textures, light, wear).
You can chase accuracy (documented measurements) or realism (believable finish). Many builders blend both.
Common Scales You’ll See (with real-world feel)
Category Typical Scales How it feels
Cars 1:24 / 1:25 Shelf-friendly, enough detail for engines and interiors
Aircraft 1:72 (compact), 1:48 (balanced), 1:32 (showpiece) From “collection” to “centerpiece”
Armor & Figures 1:35 Great storytelling with dioramas
Trains N ≈ 1:160 (tiny), HO ≈ 1:87 (most popular), O ≈ 1:48 From coffee-table worlds to room-filling charm
Dollhouses 1:12 Doors ~7 inches; furniture feels “hand-scale”
Ships 1:700 (fleets), 1:350 (detail), 1:200 (showstoppers) Pick based on deck detail vs. display space
Rule of thumb: pick the largest scale your space allows for easier handling and richer detail.
Materials (and what they’re good at)
Polystyrene plastic: Most kits; cuts and glues cleanly; paints beautifully.
Resin: Razor-sharp detail; wear a mask when sanding.
Photo-etch metal: Paper-thin grilles, buckles, railings—max realism.
Wood: Ships and architecture; warm, classic finish.
3D-printed parts: Custom pieces when kits don’t include what you need.
Foamboard/card: Fast architectural studies and scenery bases.
Weathering: The Little Tricks That Fool the Eye
Real machines aren’t showroom-fresh. Subtle wear convinces:
Wash: Thinned paint settles into panel lines—details pop.
Dry-brush: Nearly dry lighter paint kisses raised edges—instant depth.
Chips & scuffs: Add where boots, hands, and gravel actually hit.
Pigments: Dust/soot/earth for lived-in surfaces.
Streaks: Pull rain and oil lines in the direction gravity would.
Less is more. Specific wear beats “mud everywhere.”
How to Choose Your First Project (No overwhelm)
Follow your curiosity. Love F1? Start with a 1:24 car. WWII history buff? 1:35 armor with two figures.
Match your space. Apartment shelf → 1:72 aircraft or N-scale trains. Spare room → 1:48 aircraft or HO trains.
Keep complexity reasonable. Fewer parts = faster win and cleaner skills.
Pick a subject with community support. YouTube builds and forums are free coaching.
Set success up front. Plan where it will live (base, case, or shelf) before you open the box.
A Smooth Build, Step by Step
Unbox & plan: Skim instructions; highlight tricky joins.
Dry-fit everything: Test before glue; fix gaps early.
Sub-assemblies: Cockpits, interiors, engines—paint while you can still reach.
Prime & paint: Thin coats; let layers cure; handle with a holder or clips.
Decals: Gloss coat → decals + setting solution → gentle press → seal.
Weather (optional): Mirror real reference photos; stay subtle.
Mount: A simple base or dust cover immediately elevates the result.
Real-World Uses You Might Not Expect
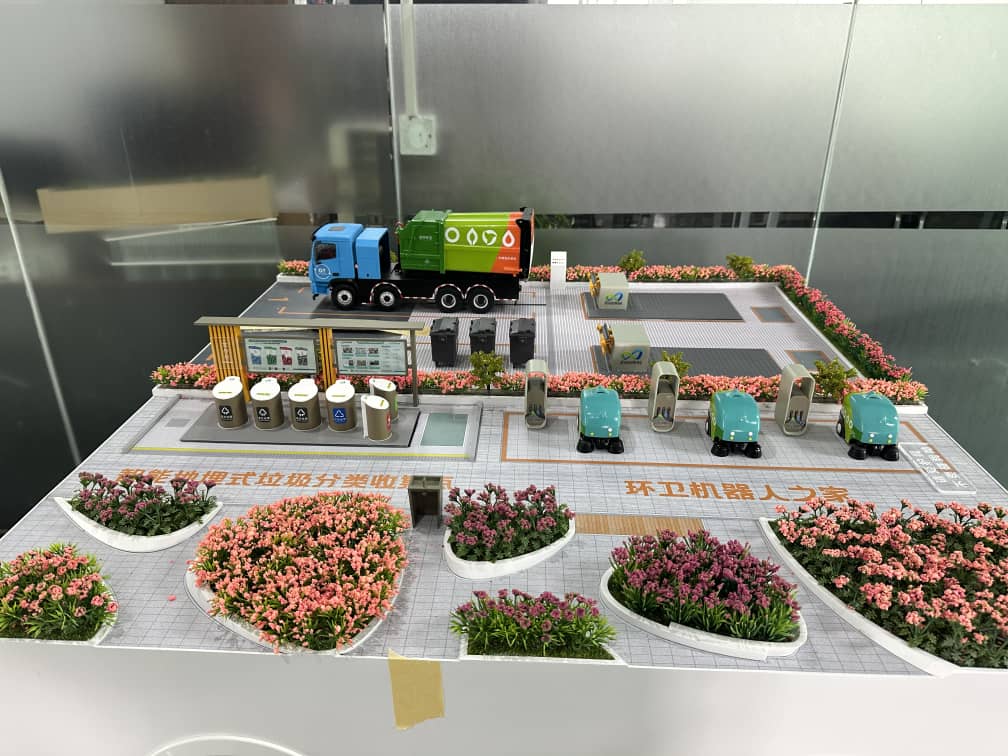
City planning & public meetings: People collaborate better when they can point, not guess.
Disaster prep: Flood and evacuation models test ideas safely.
Surgical rehearsal: Patient-specific prints reduce surprises in the OR.
Product design: Quick mockups for feedback before tooling costs hit.
Film & TV: Miniatures still beat CGI for certain textures and lighting.
Mistakes Beginners Make (and how you’ll avoid them)
Painting un-primed, unsanded parts → peel city.
Gluing first, checking later → trapped gaps, messy seams.
Even weathering everywhere → looks fake; wear is specific.
Touching before clear coats cure → permanent fingerprints.
Skipping references → markings drift; details feel “off.”
Mini Glossary (saves you a few searches)
Sprue: The frame holding parts.
Flash: Thin extra plastic to trim.
Seam line: Mold joint to sand smooth.
Aftermarket: Add-on detail sets (resin, decals, photo-etch).
Diorama: A model with scenery that tells a story.
Quick FAQs
Is a scale model a toy?
Some are toy-like, but display models aim for accuracy and aren’t meant for rough play.
Do I need an airbrush?
No. Brushes work. An airbrush helps with smooth finishes and soft camouflage but isn’t mandatory.
Can I mix scales in one scene?
Avoid it—breaks the illusion. (Forced perspective is an advanced, intentional exception.)
What’s the “right” scale to start with?
Where passion, space, and parts intersect. Safe bets: 1:24 cars, 1:35 armor, 1:48 aircraft, HO trains.
A 7-Day Starter Plan (light, doable, fun)
Day 1: Pick one subject you genuinely care about.
Day 2: Buy a beginner-friendly kit + knife, sprue cutters, sanding sticks, plastic cement, primer, two brushes.
Day 3: Watch one build video of your exact kit.
Day 4: Dry-fit, then start sub-assemblies.
Day 5: Prime and lay first color coats.
Day 6: Decals and a gentle wash.
Day 7: Light weathering, clear coat, mount on a simple base—photo time.


